
How to make mind blowing cinemagraph :
A cinemagraph is “more than a photo, but not quite a video.” Or at least that’s how Supermodel Coco Rocha summed them up.
Cinemagraphs can take things a step further.
“An image that contains within itself a living moment that allows a glimpse of time to be experienced and preserved endlessly.”
A cinemagraph is a file format GIF or a Graphics Interchange Format often used to create short, infinitely-looping animations for the web.
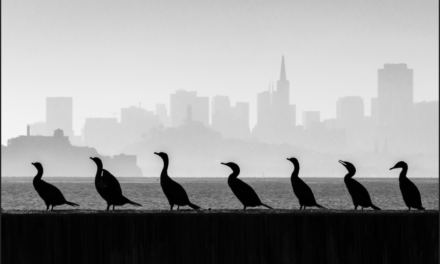
The beauty of a cinemagraphs is that you can share more than a photograph, a photograph come to life. this new art form is more sophisticated, subtle and often mysterious.
There are even a number of apps and software to instantly create you’re own cinemagraphs without any Photoshop skills. However, if you want a custom-made look, you are going to have to work for it.
it can add to blogs and emails in a way that goes beyond a regular photo. And they really aren’t difficult to make, especially if you are already familiar with programs like Photoshop.
How to make cinemagraph :
What Tools Do You Need?
First, you are going to need to make sure you have what you need to create the cinemagraph:
- A way to record video (camera/phone)
- A tripod, or some other way to keep your camera stable and completely still
- Adobe Photoshop
- Step 1: Plan!
You need to be sure you have a plan in place before you begin, to create a cinemagraph that really captivates and mesmerizes your audience.
Consider your subject. Who or what is it? What action is taking place in the video? Which parts will move, and which will remain still?
Cinemagraphs are all about subtlety; keep movement to a minimum.
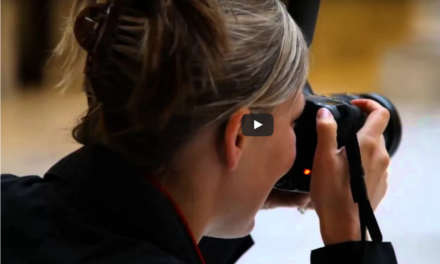
Step 2: Record the video
A cinemagraph is like a living photograph. You want it to look professional.
Be sure you have plenty of natural light, or a way to provide ample light while shooting your subject. Shooting outdoors can often be the easiest way to get great lighting.
Use a tripod. You do not want your camera to move at all during this process, or it will ruin the effect of the cinemagraph and make editing more difficult.
When recording, your subject should move as little as possible. Keep in mind what you want the end result to be – what will move and what will not.
Shoot 10 to 15 seconds of video where the subject is relatively still and any movements are steady.
Step 3: Process in Photoshop
above video by Peter McKinnon will guide you step by step to process your cinemagraph.
Congratulations on your new cinemagraph!
If you like photography articles, please do share.
You should LIKE us on Facebook, so they will appear in your facebook feed.


Recent Comments